
If you want to protect your lawn from retaining wall Adelaide and maintain its beauty, there are a few ways to
keep your landscaping green. Watering your lawn in the evening between 4 and 6 p.m. should
ensure that the …
Ways to Keep Your Landscaping Green During Drought
Security Guard Services

Security guard services can be used to guard your workplace, whether you need one to protect it
or to keep it safe. These professionals are trained to handle a variety of situations and use
specialized equipment in order to keep …
Tips For Finding a Trusted Building Inspection Specialist
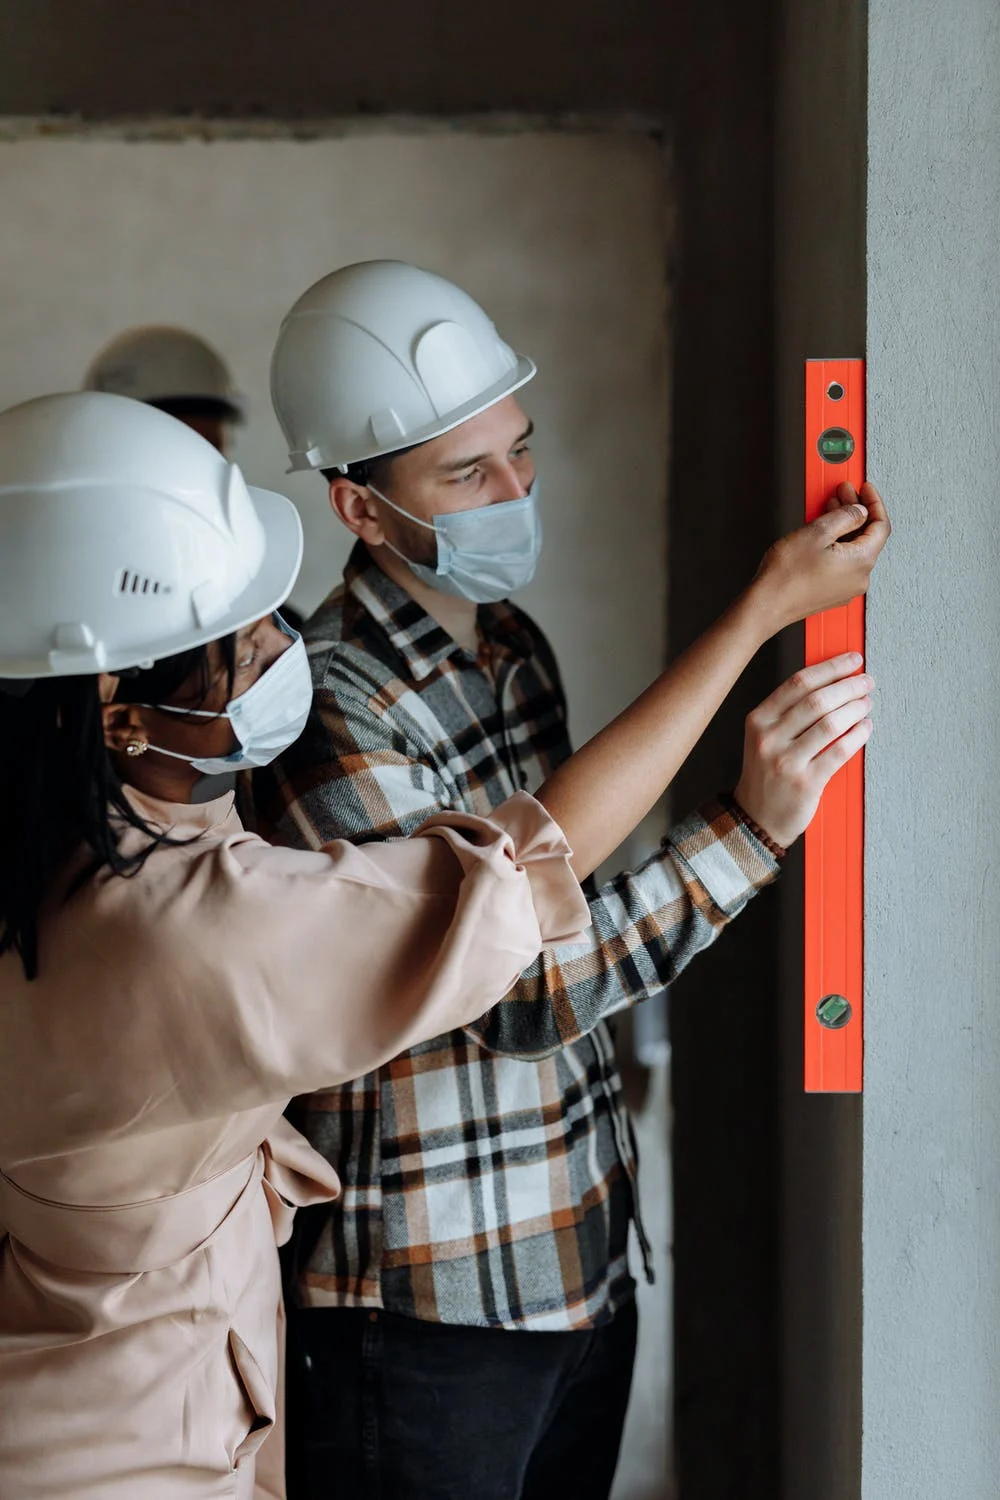
A building inspection is a comprehensive examination done by a building contractor, someone who is licensed by either a local government county or state and typically qualified in one or more areas qualifying them to leave unbiased expert decision concerning …
Painting Services For the Exterior of Your Home
Look for a professional painters Brisbanecompany that is insured and licensed. Many painting companies
aren’t registered with the Better Business Bureau. This can make it difficult to find customers.
Color My World is a professional company that focuses on …
Common Problems With Concrete Slab Floors
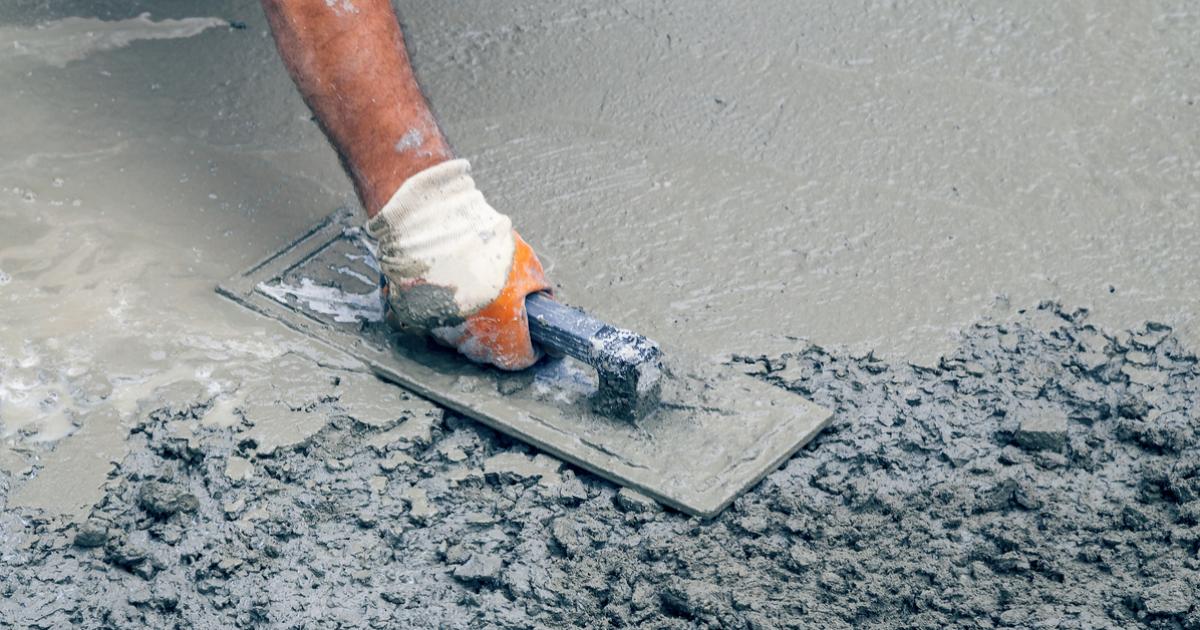
Concrete slab floors are an increasingly popular choice for new builds. When constructed correctly, they should last a long time before needing replacement.
Reinforcing should be placed high within a slab for crack tightness and control joints should be eliminated …
What is Circumcision?

Circumcision is a surgical procedure to remove the skin covering an adult male’s penis. It’s most often performed on newborn boys, but can also be performed on older males.
The procedure is performed to prevent infection in the urethra and …
Different Methods of Underpinning
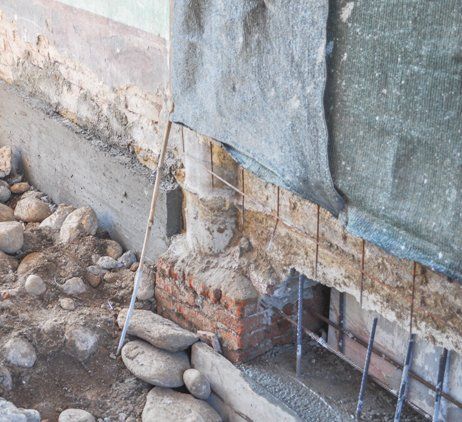
Foundation issues are an enormous investment. Therefore, it is vital to fully comprehend all available methods of underpinning so you can select one which best meets the requirements of both your home and soil conditions.
Mass concrete techniques have been …
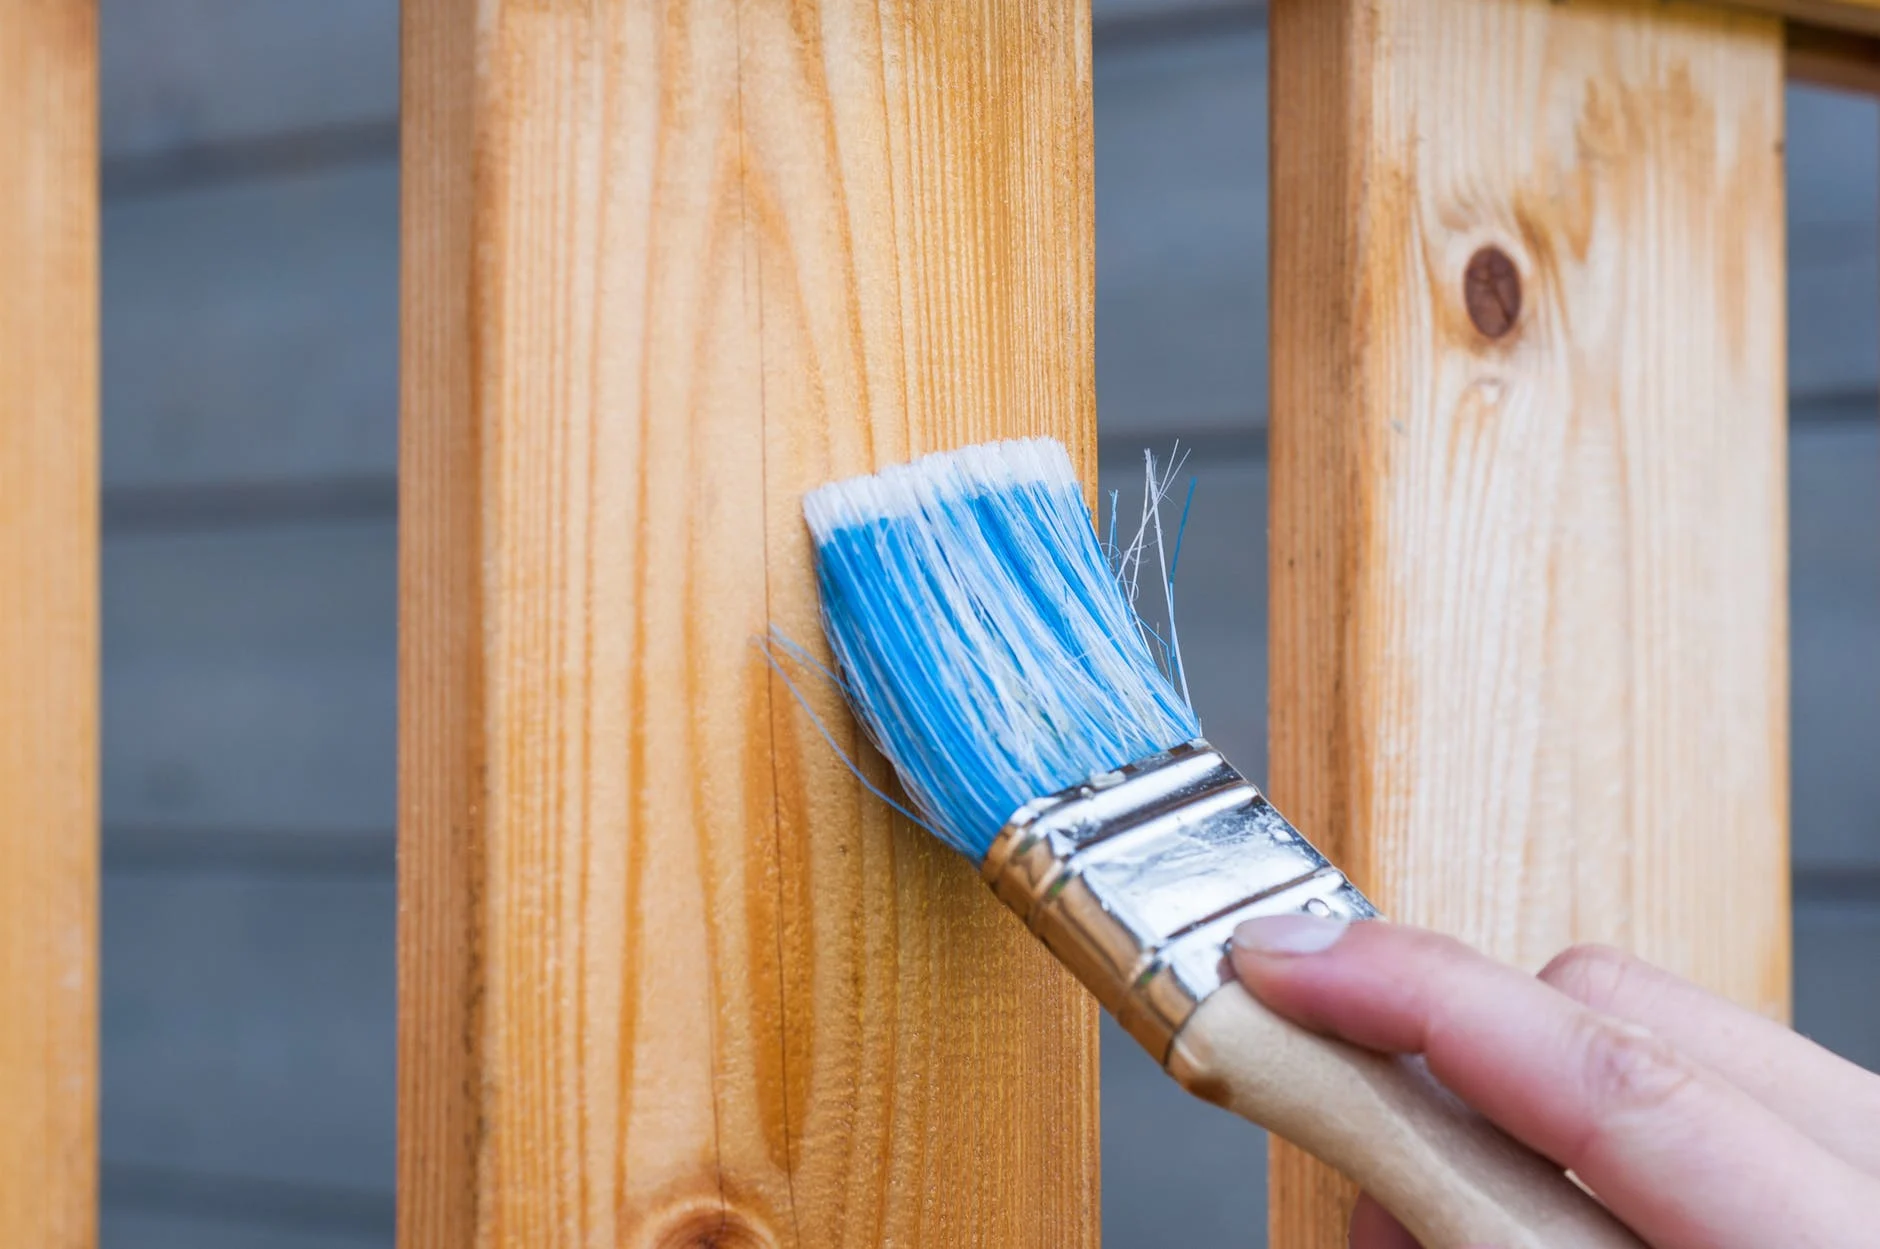
What Do Painters Do?

Painting is an enjoyable hobby that can add beauty and wellness benefits to both your home or office space. Additionally, painting has many therapeutic qualities.
Paintbrush handling helps develop fine motor skills by increasing finger and hand mobility – this …
The Many Uses of an Embroidery Machine

Embroidery machines are the ideal tools for creating custom embroidery logos and branding. Fast and efficient, these machines can handle large jobs quickly.
An embroidery machine allows you to explore endless creative opportunities when it comes to decorative and functional …